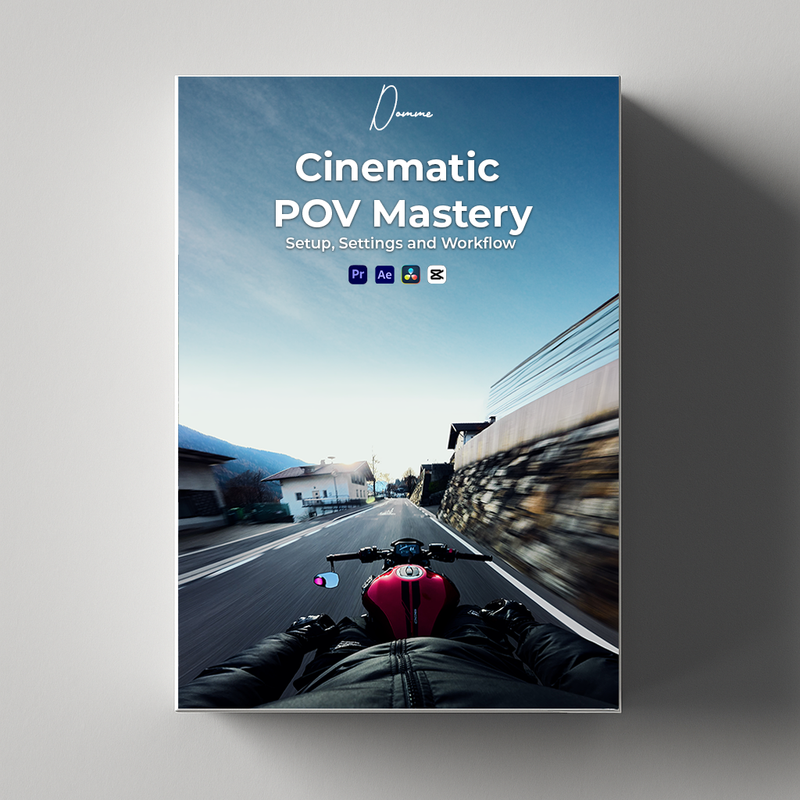
Cinematic POV Mastery
⭐⭐⭐⭐⭐ Rated 4.8/5 by creators
Learn how to create ultra crisp cinematic motorcycle videos from zero — even if you have no filming or editing experience.
Everything I use to film, edit and export my ultra crisp videos — explained step by step for beginners.
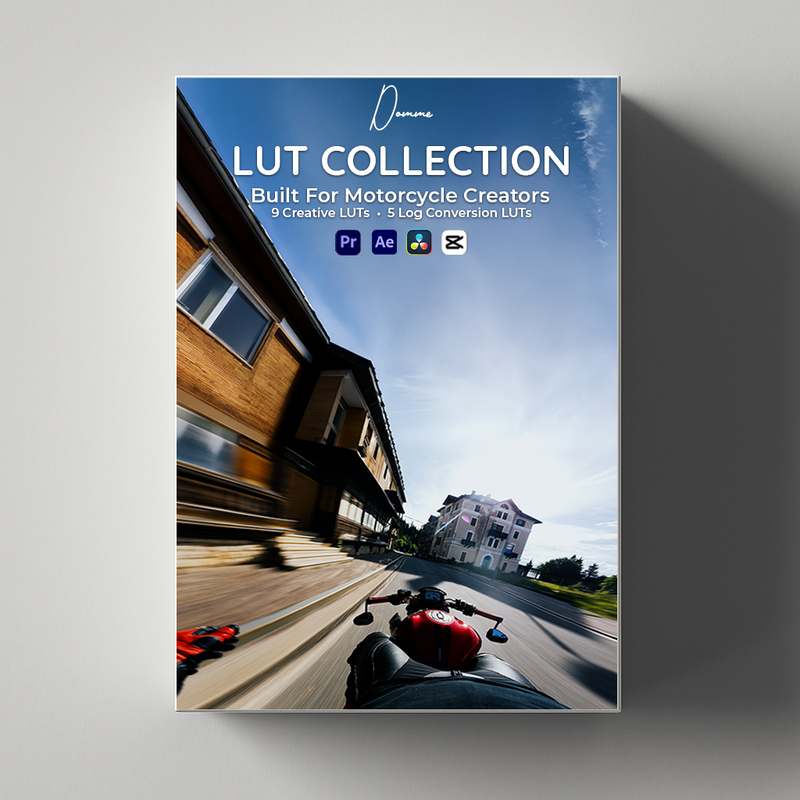
• 9 Cinematic LUTs
• 5 Conversion LUTs
VIEW ALL THE LUTS
• Beginner-friendly camera settings
Learn how I set up my camera for sharp, professional-looking footage
• Microphone setup + placement
For clean engine sound and better riding audio
• Full editing workflow
Step-by-step tutorials for Premiere Pro and DaVinci Resolve
• Color grading workflow
How I use LUTs and manual adjustments to get my cinematic look
• Export settings for maximum quality
My exact Premiere Pro and DaVinci Resolve export settings
• Topaz AI ultra quality workflow
My upscaling, sharpening and FPS upscale settings for ultra crisp footage
• Cinematic photo workflow
How I turn clips into ultra-wide cinematic photos using Photoshop + AI
This is my complete system – from filming to final result.
CHAPTER 1 — Filming Setup
Camera settings, mic setup, ND filters, basic shooting tips and how I capture my riding footage
CHAPTER 2 — Editing Workflow
How I set up Premiere Pro and DaVinci Resolve, organize footage, apply LUTs, color grade and prepare the final edit
CHAPTER 3 — Ultra Quality Workflow
My Topaz AI upscaling, sharpening and FPS upscale workflow for ultra crisp footage
CHAPTER 4 — Cinematic Photos
How I turn video clips into cinematic ultra-wide photos using Photoshop + AI
Simple, beginner-friendly and straight to the point.
A full written step-by-step guide to follow alongside the video tutorials.
This makes the process faster, easier to understand and easy to follow while editing.
Inside the guide, I break down the complete workflow:
• Camera setup
• Microphone settings
• Shooting basics
• Premiere Pro editing workflow
• DaVinci Resolve editing workflow
• LUT installation
• Color grading
• Export settings
• Topaz AI quality workflow
• Cinematic photo workflow
Use it as a quick reference while editing or follow it step by step from start to finish.
Use it as a quick reference while editing or follow it step by step from start to finish.
• A computer, PC or Mac
• Premiere Pro or DaVinci Resolve
• No editing experience needed — I explain the workflow step by step
• Topaz AI recommended for ultra crisp quality
• Photoshop recommended for cinematic photo creation
• Lifetime updates included
• New LUTs and tools added regularly
• Future tutorials (Premiere Pro & DaVinci Resolve)
• Continuous improvements to the workflow
Pickup currently not available
Instant digital delivery. By completing your purchase you expressly consent to immediate delivery of the digital content and acknowledge that you thereby waive your 14-day right of withdrawal (EU consumer law).


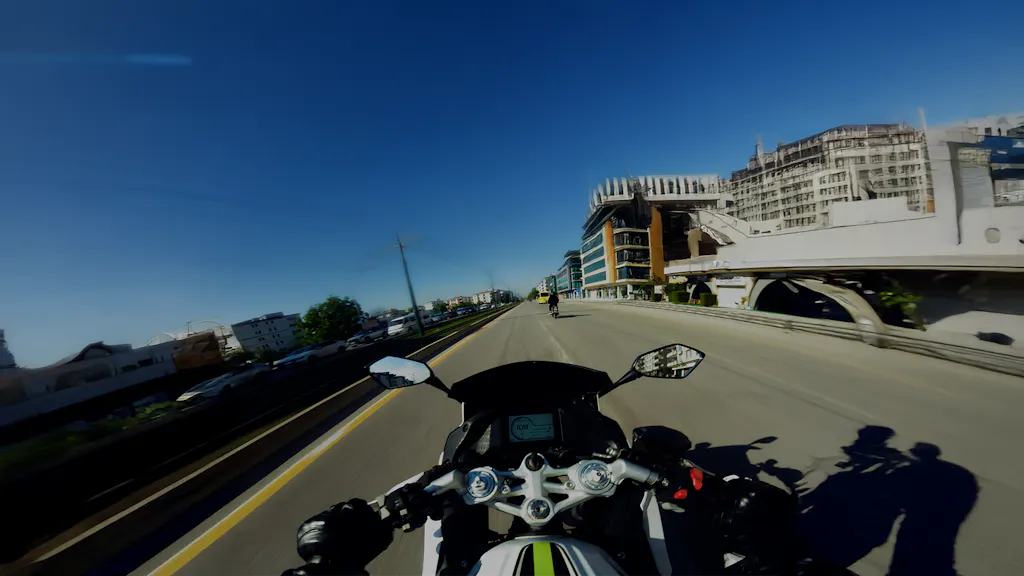
Creators already using the Workflow
Generated through my High Quality POV Content
No Editing experience needed
If you're shooting POV content and want clean, cinematic results with ultra quality — without overcomplicating the process — this is for you.
No complex setup.
No overthinking.
Just a simple system you can follow to get the same ultra quality result.
Video or photo — every pack is built for the same premium motorcycle-commercial look.